Sports Photography Guide
1. Always Check Your Background First
The very first thing that you should look at when lining up your photography location is the background. Check your surroundings and make sure that the backdrop of your images is going to enhance not detract from the image. This may be a bit more difficult on a racecourse than other locations, but things as simple as opting for a blurred crowd or scenic natural backdrop in the background will look better than course cones, fencing, and parked cars. If you need to speak to a race official to help you get situated in the appropriate location or to possibly move an obstructive (but unimportant) blocker don't hesitate to ask.
2. Use a Wide aperture
The key in sports photography is focusing on the subject which is where the shallow depth of a wide aperture comes in play. By sticking to apertures greater than f4 you can ensure that you'll capture the run in the narrow focus and allow the background to fade slightly into the background and help produce that sense of speed all while focusing on the runner.
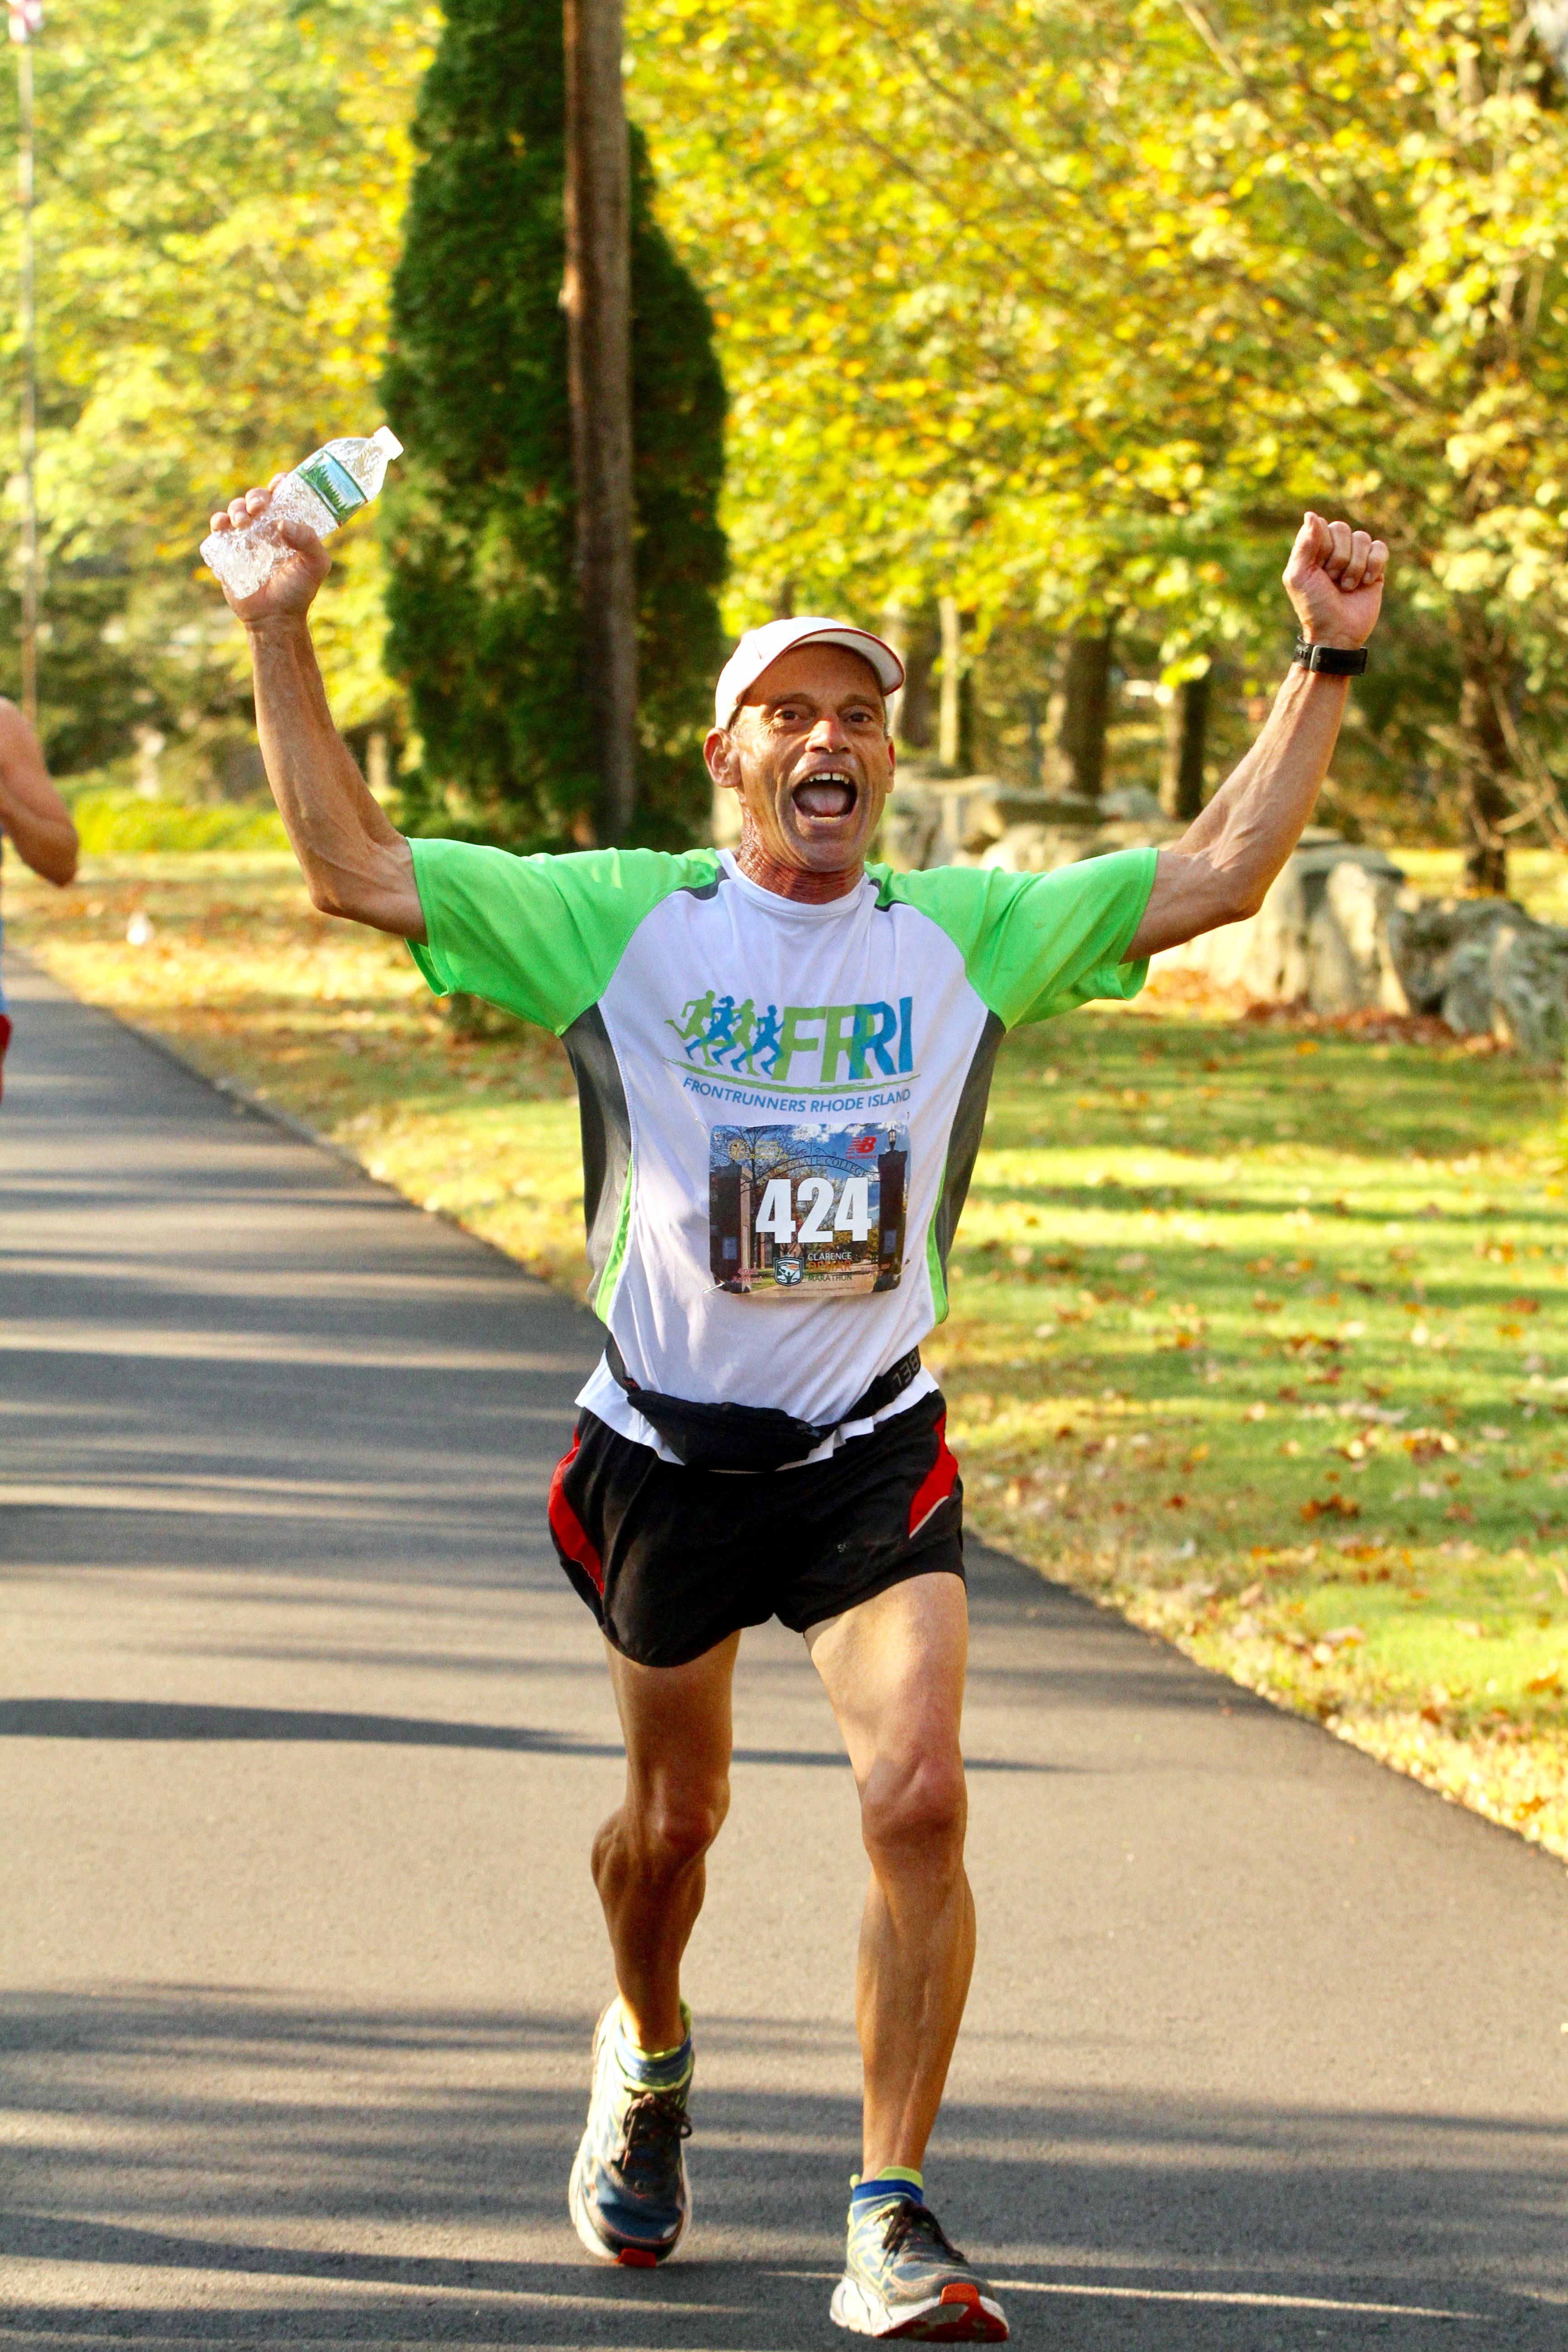
3. Always Shoot Vertical
This one is simple. Always shoot vertical. In 99% of cases, this allows you to frame the runner from head to toe without including extra unnecessary background space on the sides of the image. There are some cases when horizontal shots may be necessary. If you are taking photos of a swimmer, triathlon, or any event when your subject is primarily horizontal you may find it necessary to switch to horizontal shot. Horizontal shots also make good promotional material and for group shots of families or teams crossing the finish line. If you plan on capturing a group or more than one/two runners you may find it beneficially to make a brief switch to horizontal.
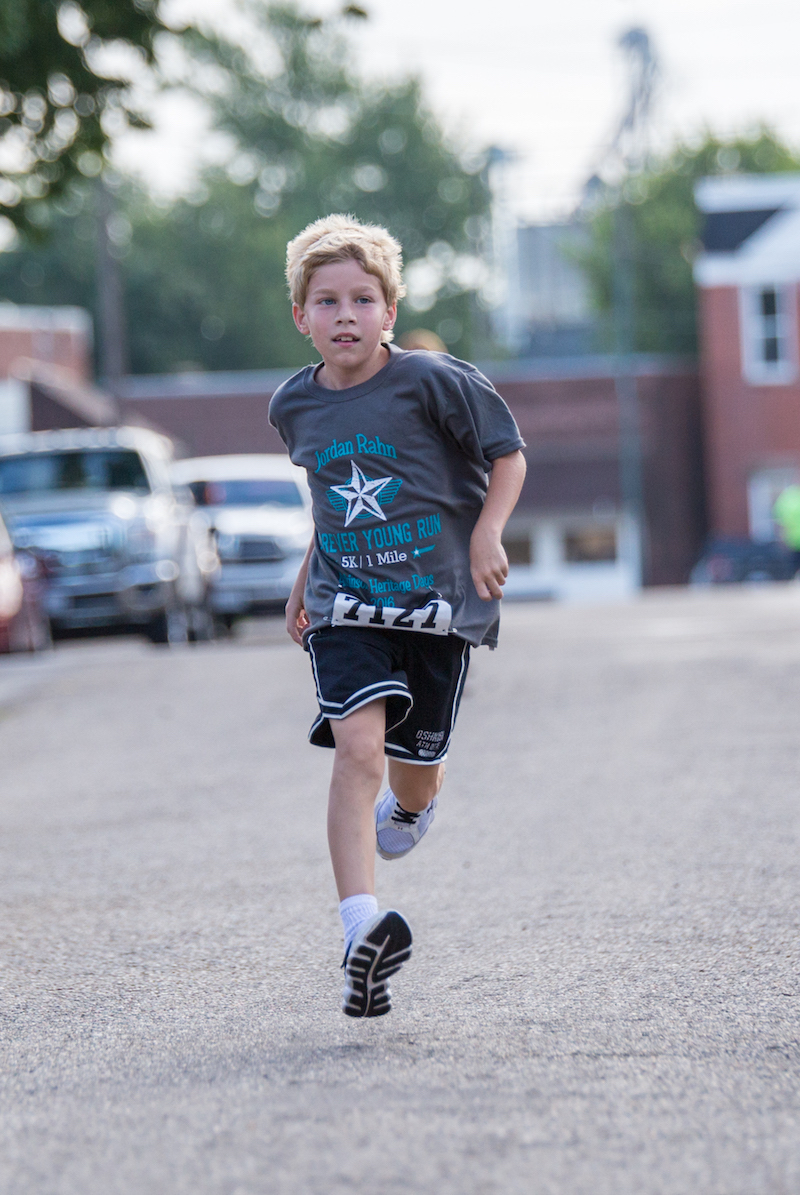
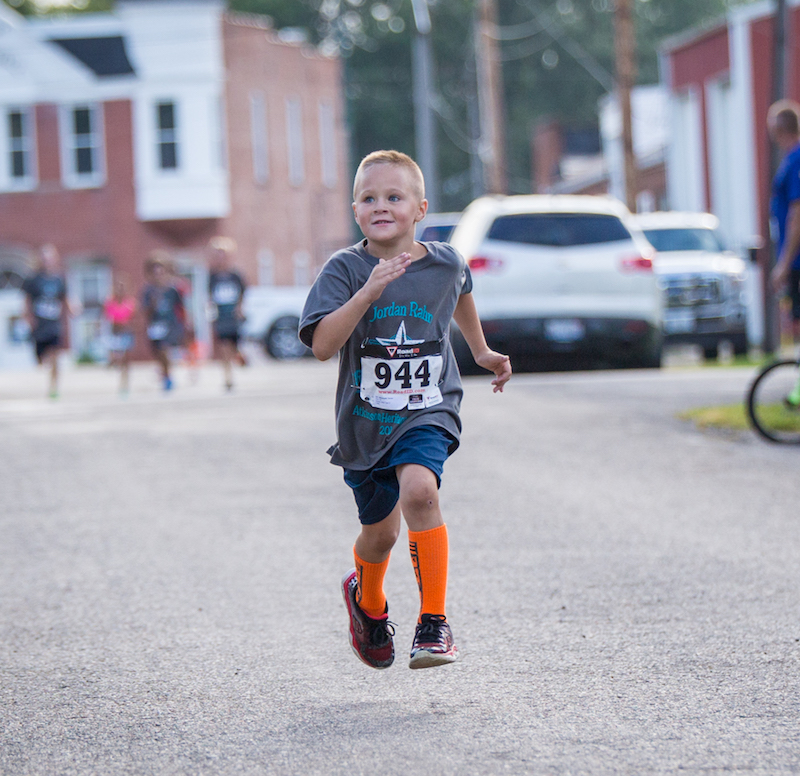
4. Shoot Head-On If Possible
You can almost always get the best shots from head on. It will give you more time to line up your best shots, pick out every runner, and allows small angle shifts to drastically change your background. You'll alleviate issues with runners arms covering their bib, and reduce blur that arises when you swing your camera as you try to shoot athletes running beside you. If you have credentials or permission from the race, set yourself up on the course. However, make sure you are clearly marked so that runners don't accidentally run you over.
5. Manually Set Color Balance and Adjust Throughout Race as Needed
The lighting will change throughout the event, but you want your images to stay consistent from shot to shot and avoid the camera adjusting settings with every focus on different colored clothing. Manually set your color balance at the beginning of the race and take a few shots to make sure that everything looks good. Remember to continually check and adjust the color balance throughout the race, particularly if your event is early in the morning or later in the afternoon. The movement of the sun, rolling clouds, and changes in lighting can drastically throw off your color balance and render hundreds of photos unusable so make sure you are continually checking your settings.
6. ISO at 400 and Other Exact Settings
As a standard set your ISO to 400 and your autofocus to servo mode. Never shoot with a shutter speed under 500, or an aperture smaller than f4. If it's an overcast day or it's getting darker, you can increase ISO. It will increase your file size so be aware. A shutter speed under 500 is going to lead to motion blur on the runner and the photos are going to come out very undesirable. If you have an aperture any less than f4 then your focus field is going to be much too deep to produce good images. Consider renting or purchasing a lens that is better suited for sports photography.
7. Shoot Tight
You want your subject to cover at least 80% of the frame. Aim to take your picture with their feet and head as tighly framed within the field as possible. Focusing on this simple tip will drastically increase the quality of photography and lead to a marked increase in your photo sales.
8. Never Cut Subjects at a Joint
If you plan on zooming in on runners to capture an even tighter shot, keep in mind that you'll never want to crop the bottom or top the image directly on a joint. This means the crop shouldn't sit on the ankle, knee, waist, or neck. This shot will look unnatural. Simply cutting below or above the joint will lead to a significantly more desirable image.
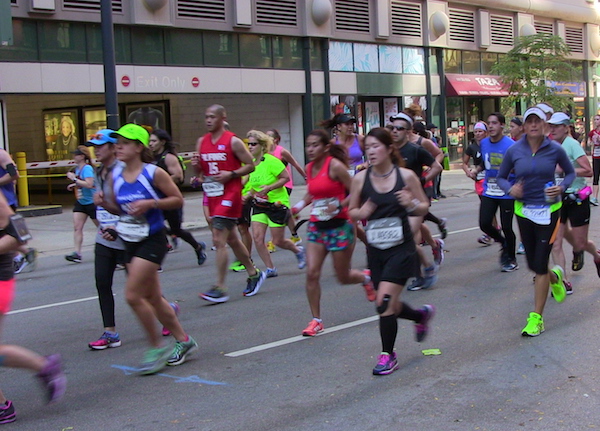
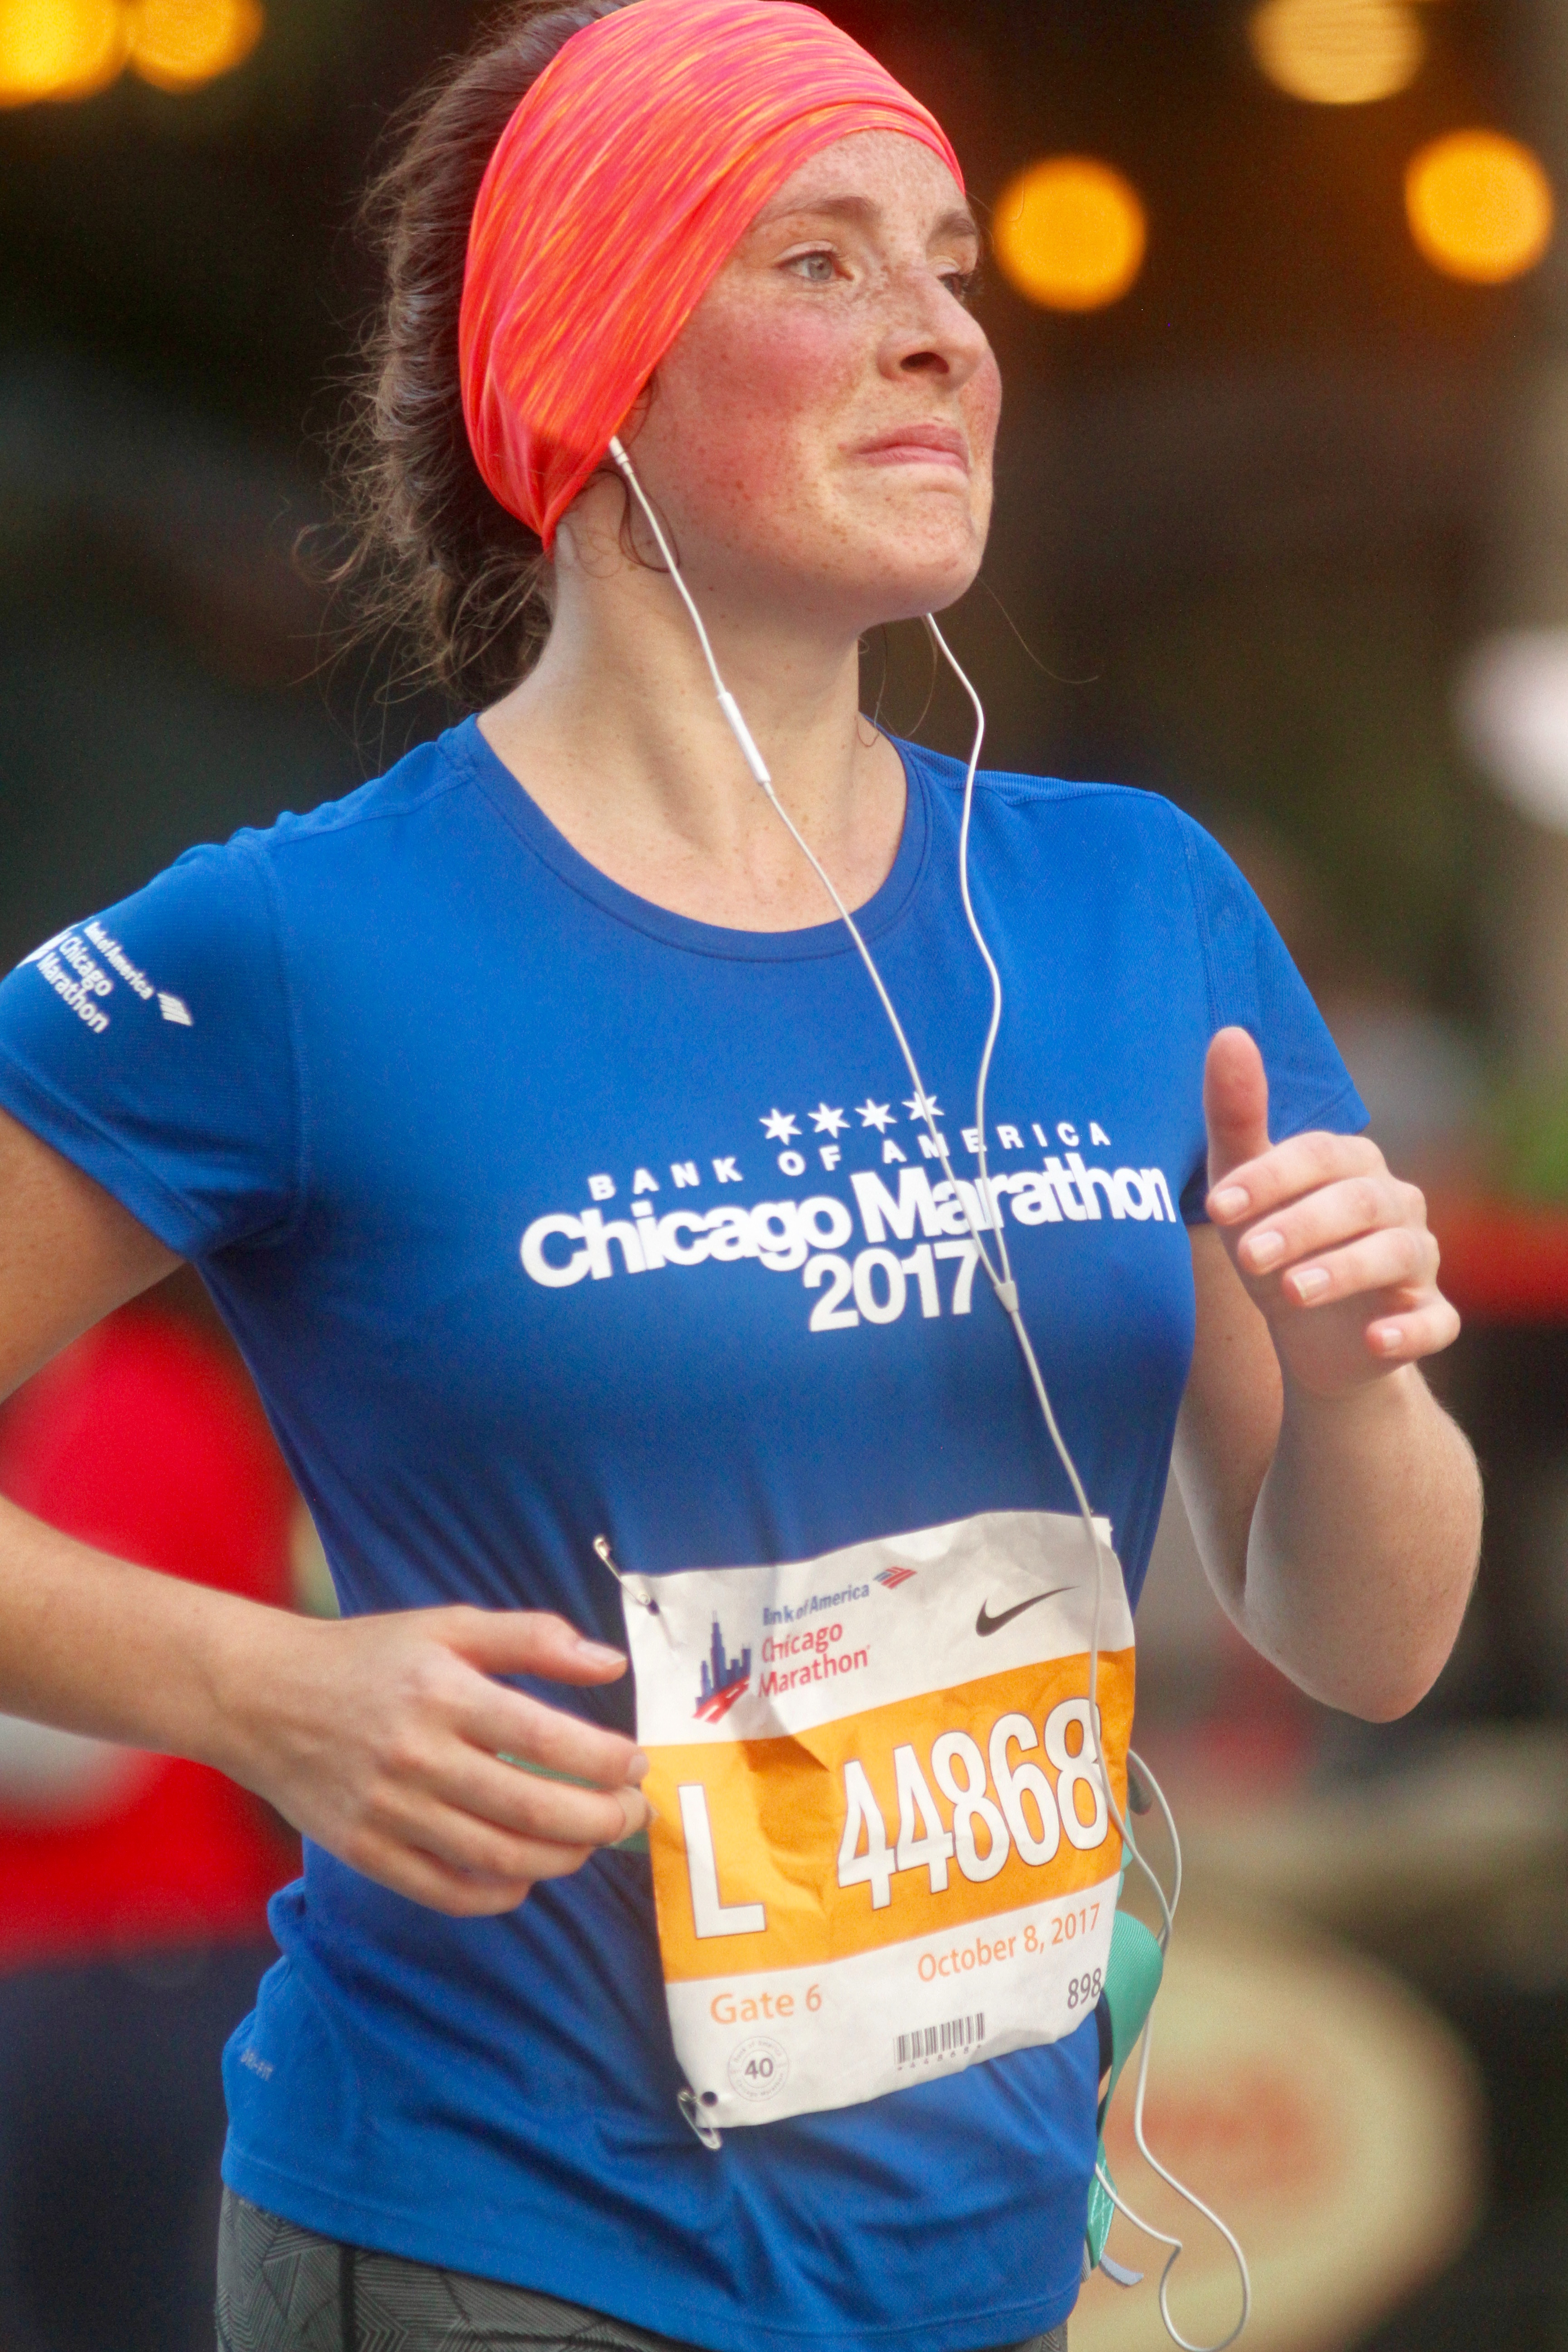
9. Make Sure Bib Numbers Are Visible
The great photographers will line up their shots with the rhythm of a runners swinging arms. Lining shots up in rhythm may be difficult, but you can focus on picking your shots between single swings. Make sure to shoot your pic when the runner's hands, arms, cape, etc are out of the way of their bib. Despite some of the workaround tools we've developed, it's very difficult to find images that don't have a visible bib, and you'll never sell an image that the runner never sees.
10. Set Camera to Exact Local Time
FlashFrame is planning on rolling out an enhanced searching tool that allows runners to find their photo based on their finish time very soon. This is dependent on a standardization of time-data across our photographers. Please make sure to synchronize your camera to the exact local time before beginning shooting for the day. Most smartphones and internet enabled devices will allow you to find the exact local time. Additionally, please do not delete any time-related Exif data if you plan any type of post-production with your photos.
11. Set Image Size Less Than 4MB
Starting July 28, 2017, FlashFrame is only accepting image file sizes below 4MB. This reflects a standardization in online image sharing and ensures that any images that participants purchase from you can be shared to social media and stored on mobile devices without issues. You can achieve this by setting your quality mode to medium and compression ratio to coarse/step. There is more info on this in a previous blog post.
12. Communicate!
Communicate with other photographers (if there are any) and runners during the race. Call your shots when there are big crowds approaching, say "I've got the left side" or "I've got red shirt" so that you can make sure to get every runner and reduce unnecessary repeats.
13. Try to get the "Runner Shot"
The stereotypical runner shot, and for good reason is the incoming runner with both feet off the ground looking like they're about to set a new world record. It may take some practice, and pros will say it takes years, but eventually, you'll find yourself taking these shots like they're second nature.
13. Final Remarks
Make sure to have fun but be prepared. Bring a monopod if you have one, a hat, and some sunscreen. There are some photographers that swear by a collapsible footstool but that's up to you. Make sure to bring extra batteries, more SD cards than you think you'll need and remember to have fun. Don't panic if you miss a few runners or have a setback. If you get the chance talk to athletes, cheer them on and enjoy the event.
14. Selling Photos
Many of you are here beyond just the hobby and sell photos as a living. There are some additional tips that we find lead to the most photo sales.
- Make sure to take as many as possible. At least 3 per participant as they pass. The number of photos you take should be equal to 3x the number of participants that pass you.
- Focus on the second half of the event, the majority of your sales will be in the final third of the race.
- Get your photos uploaded AS QUICKLY AS POSSIBLE. Interest in sales decreases over time.
- If you have batch editing software quickly edit your photos before upload.
15. Rules are made to be broken
Once you know these techniques, you will find there are times and places when it is appropriate to break these rules. For example, small apertures when the background is beautiful and you want to include more in the photo. High ISOs when its late in the day and when shadows cover the course, and you want to maintain a high shutter speed. Bikes, swimming, and people crawling in mud many times call for horizontal shots. The more photography you'll do the more you'll learn. One of the best things about Flashframe is the ability to see what sells and what doesn't, we provide the photographer a copy of every photo that is purchased.
Thanks for reading and we hope this been helpful and informational. Get out there and have a great time at your event!